Create Your Own Tile Design in PowerPoint
Reading Time: 2 minutes
|
Author: Tom Becker
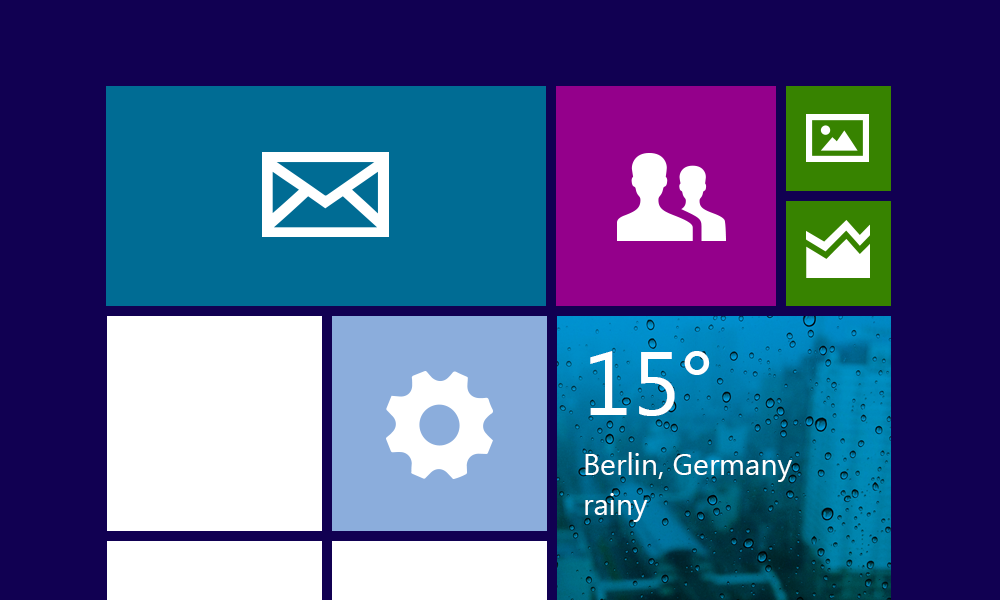
Tile design has been setting trends since the launch of Windows 8. As design elements, tiles have become indispensable both for desktop and mobile devices. We’ll show you how to create your own tile designs in PowerPoint.
Tile and flat design are the go-to trends in software, website and app design. In an earlier article, we showed you the benefits of a grid layout. But did you know tiles are also great for creating infographics? Here’s how.
- Build tiles on your slide using the rectangle shape. (Hold down the Shift key while dragging to create a square shape or reduce the size).
- If you need several tiles of the same size, duplicate the tile with Ctrl + D.
- Distribute and align the tiles on your slide. In PPT 2013 and 2016, tiles can be easily arranged with the Gridlines feature
- In PPT 2010 or older, go to Drawing Tools > Format > Align to create an exact positioning of the tiles.
- To change the color of the tiles, go to Drawing Tools > Format > Shape Fill. If you want to remove the borders on your tiles, go to Drawing Tools > Format > Shape Outline > No Outline.
- Insert vector icons, place them in the desired tiles and resize them.
- Type directly in the tile to add text.
The Align Text option allows you to align the text at the top, center, or bottom of the tile. - Highlight important word or numbers by increasing the font size or using bold fonts.
If you need to save time, PresentationLoad has created a wide variety of professional, ready-made tile design templates. Visit our shop to see our selection.


