Present tables and figures clearly in PowerPoint: Tips and Tricks!
Annual reports, financial plans, or calculations: Too many tables and figures often seem unnecessarily complex. In a presentation this can quickly seem overwhelming and irritate the audience. In most cases, however, numbers are useful and unavoidable.
This makes it even more important to be able to convince with a minimalist, clearly structured overall appearance of your presentation. In this article, we will show you how to include tables and figures in your presentation without overwhelming your audience.
6 tips for the correct handling of tables and figures in Microsoft PowerPoint
Of course – presentations rarely work without numbers. User numbers, key figures and statistics are important and should be mentioned. However, a presentation overflowing with numbers often misses its primary goal: to provide the audience with an engaging, understandable approach to interpreting the various numerical values.
To help you focus on the purpose of your presentation, we will present 6 tips on how to handle complex tables and figures in PowerPoint presentations.
#1: Only mention relevant numbers
Always ask yourself if the numbers listed add to the understanding or support of your argument. Sometimes it makes more sense not to mention some numbers if they are not relevant for the purpose of your presentation.
#2: Use rounded numbers
If possible, round numbers up or down to make them easier for the audience to understand. Further, numbers can be understood easier when they are rounded.
#3: Visualize numbers
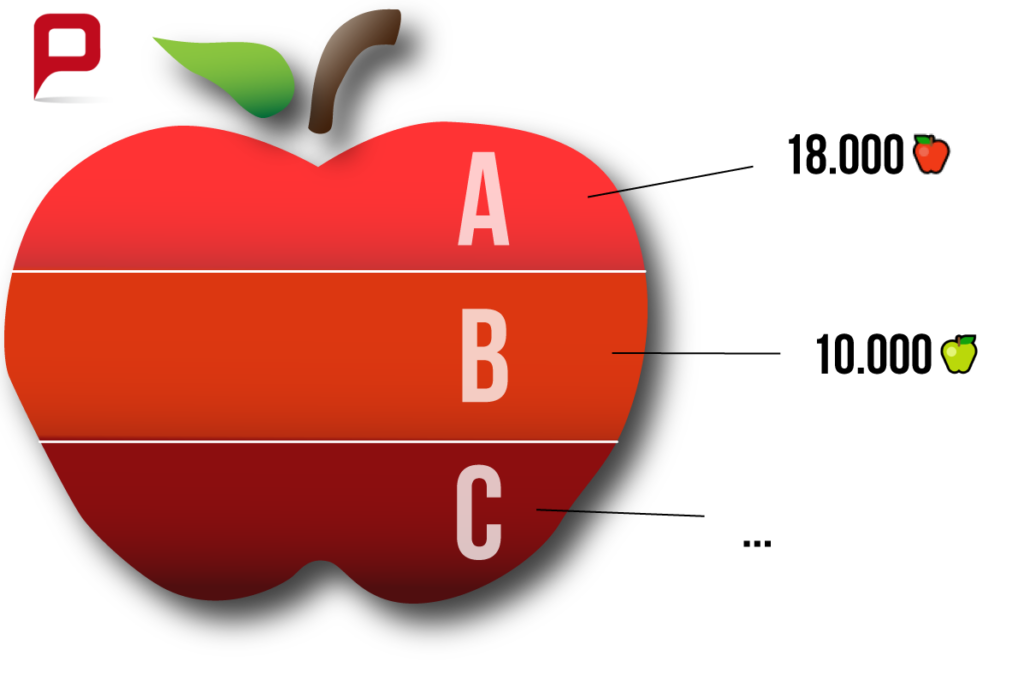
If possible, use infographics and images to visually support the numbers you are presenting. If you are displaying production figures, for example, enhance the display of these figures with symbol images of the product you are talking about.
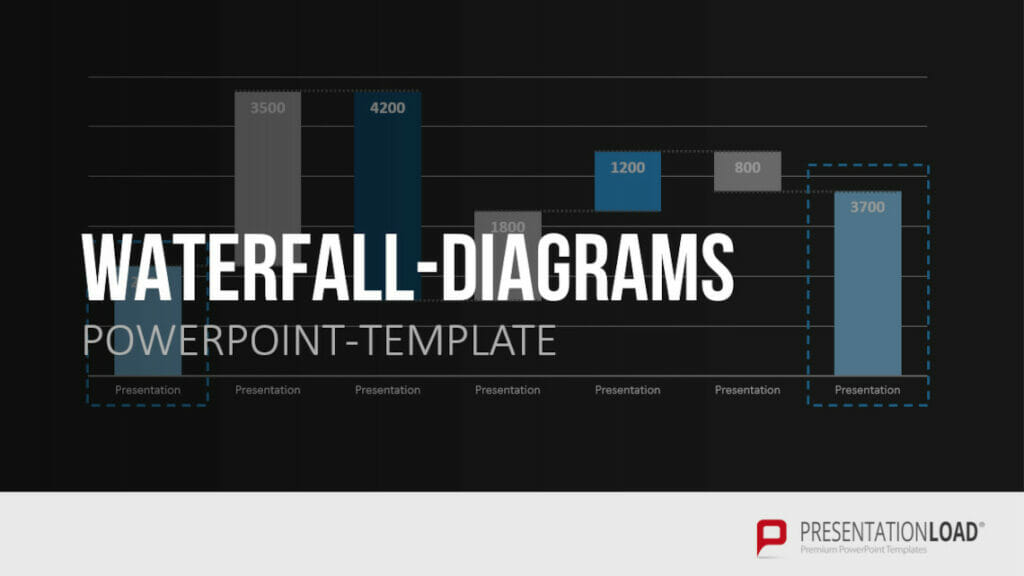
You can find a variety of professionally designed diagrams in our shop on the PresentationLoad website.

#4: Always put figures and comparative values in context
When you quote a number, its context should always be easy to understand. To do this, it is important to rely on both the verbal level in the lecture and the visual level in the presentation. Comparative values should always be mapped in parallel, and the context of a number should be clearly read out.
#5: Use infographics instead of tables
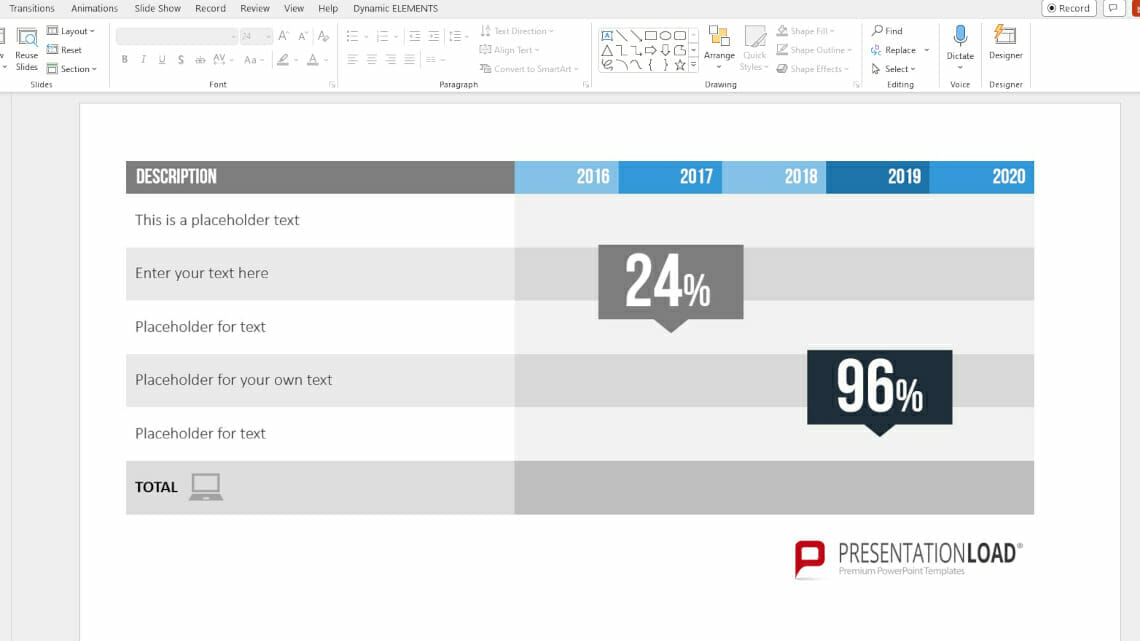
Instead of filling tables with numbers, create infographics that communicate the relevant numbers clearly. Ensure that you don’t show too many numbers on the graphics and use images that are related to the numbers.
You can find a number of professionally designed infographics in our PresentationLoad shop.


#6: Use 2D instead of 3D diagrams
Even though 3D charts are visually appealing and a good way to grab the audience’s attention, they have limited use for presentations with high numerical content. Two-dimensional representations run less risk of distorting the conditions and are usually easier to grasp visually.
Especially with high volume of numbers, it is important to keep the rest of your slides minimalistic.
Inserting numbers and cells from Excel spreadsheets into PowerPoint
Entrepreneurial numerical values are commonly collected and archived in tabular form, usually in Excel. To include Excel tables in your PowerPoint presentation, there are several ways. In this paragraph we will show you how to create and edit a well-structured Excel table in PowerPoint. Afterwards we will show you how to use shortcuts to get results even faster.
Create and edit Excel sheets in PowerPoint
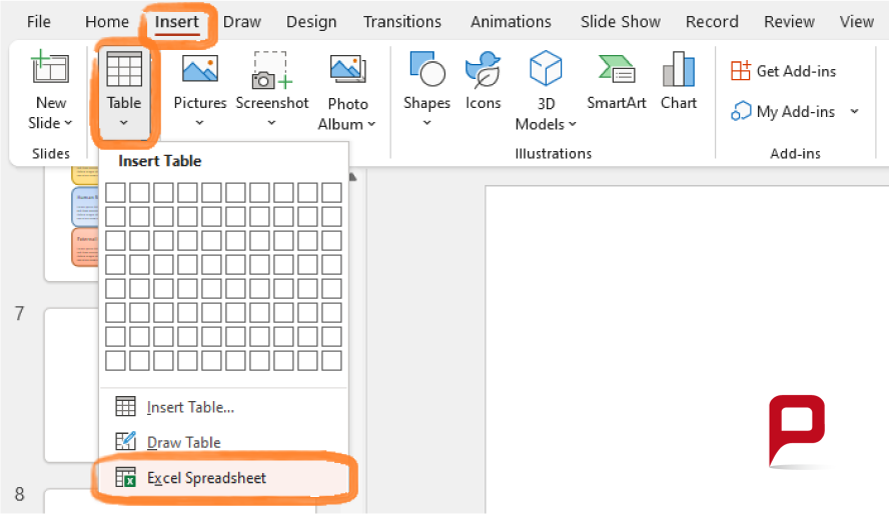
In your opened PowerPoint project, you will find the “table” option in the “insert” tab. Once you click on “Spreadsheet”, a drop-down menu opens where you will find a “Excel spreadsheet” button at the bottom.
After you select the Excel button, two things will happen: the PowerPoint view turns into an Excel view inside the open window. Also, a miniature Excel spreadsheet opens on the selected slide.
This “Excel mode” lets you create a completely new table or insert content from already existing tables. This is because Office effectively opens a simplified mini version of Excel within PowerPoint.
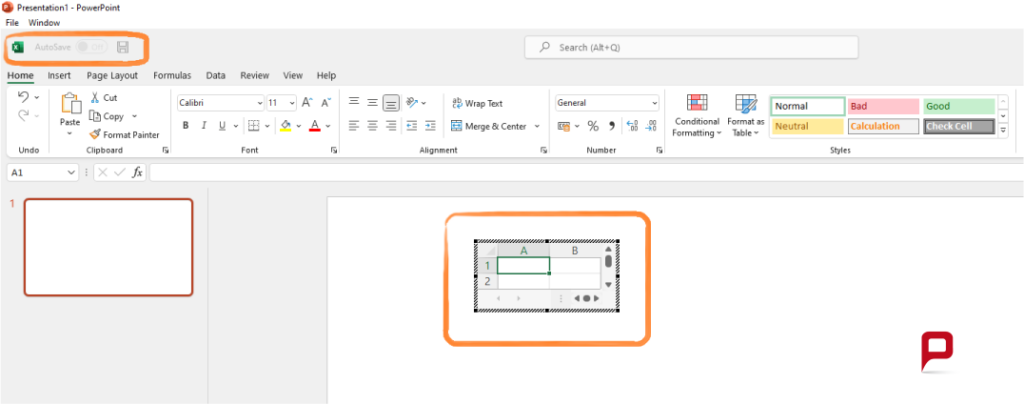
If you are working within the small Excel spreadsheet, you will also remain in “Excel mode”. To leave it and return to the familiar PowerPoint view, simply click anywhere next to the box on your slide. By double-clicking the Excel table, you immediately return to Excel mode and can continue editing the table.
Within Excel mode, dark corner points appear along a thick table frame. You can drag the corner points of the table to reveal more columns and rows and then enter all the necessary numbers and labels for your presentation. By pressing the Enter key, you can jump to the next cell and continue there.

As long, as you have selected one or more cells of the table, you have various options for further processing and reshaping. These are located at the top of the screen. To finish your Excel table or to exit Excel mode again, simply click next to the table on your slide again at the end of your editing.
Shortcut: copy and paste directly from Excel to PowerPoint
The simple Copy + Paste function provides a faster variant for creating an Excel table in PowerPoint. With the shortcut Ctrl + C you can copy marked contents and with Ctrl + V you paste these contents into a new place.
This way you can copy already existing tables completely or partly into PowerPoints.
After selecting Ctrl + V on your PowerPoint slide, press the Ctrl key again, one at a time. Five different ways to insert the content will appear. These five options significantly influence both the display and further processing of your table. This makes it even more important to choose the right option. In this paragraph we will explain the five different insertion options:
#1: Use target format templates
With this option you can paste all copied data from Excel. PowerPoint will then format the data as a table by default. This way you can still edit the table partly, but you can no longer add or remove new cells.
#2: Keep original formatting
All graphical attributes are taken over from Excel, the formatting is again done by PowerPoint using a standardized table. The graphic elements mainly include font and color design. Graphics are inserted as complete image objects in the upper left corner.
#3: Embed
Graphic elements are adopted again (font and color). In addition, all graphics and image objects remain in place. Double-clicking on the embedded table also takes you back to Excel mode. You can then edit the table freely or extend it as you wish.
#4: Graphics
Here, the Excel spreadsheet is converted into graphic/ image and inserted into PowerPoint. Size and shape can be changed, content, however, cannot.
#5: Adopt text only
With this insert option, only the text is transferred. Neither formatting, color scheme nor fonts are taken over from Excel.
So, to properly use the shortcut to your Excel spreadsheet, you must first copy the contents from Excel using Ctrl + C, paste them onto your PowerPoint slide using Ctrl + V, and select the “Embed” option after pressing the Ctrl key again.
We hope you enjoy trying our tips!
Tip: Professional table templates for PowerPoint
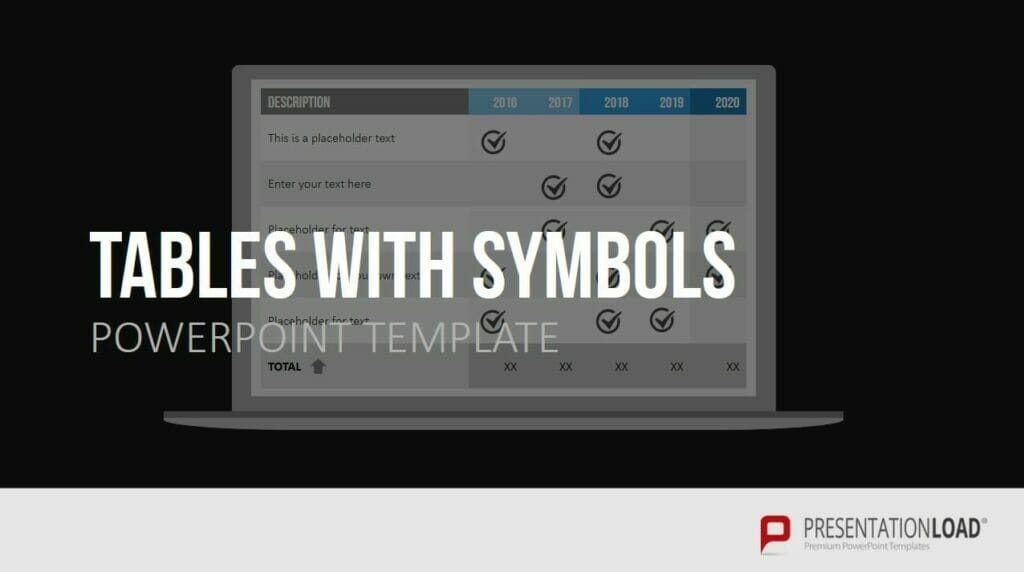
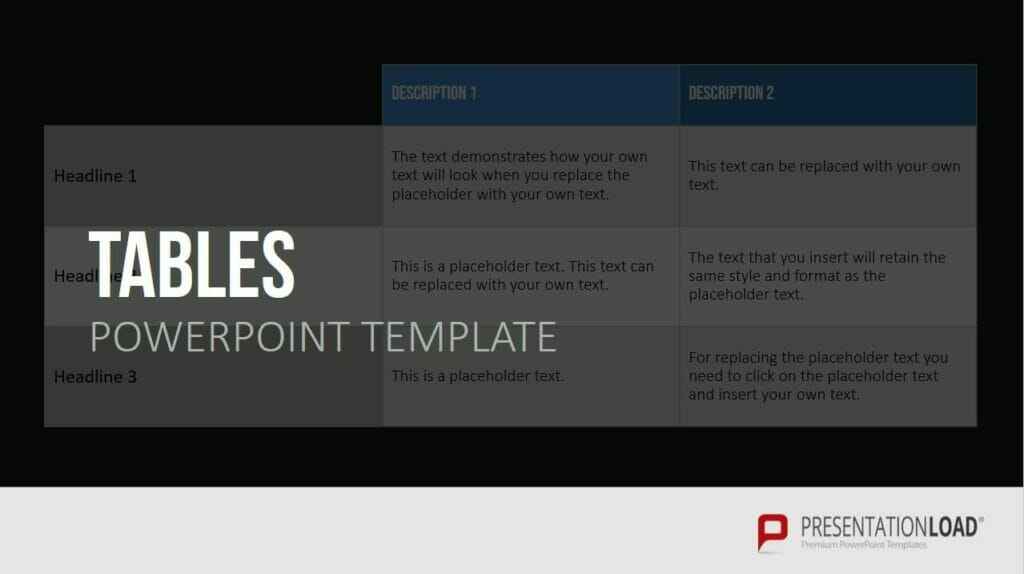
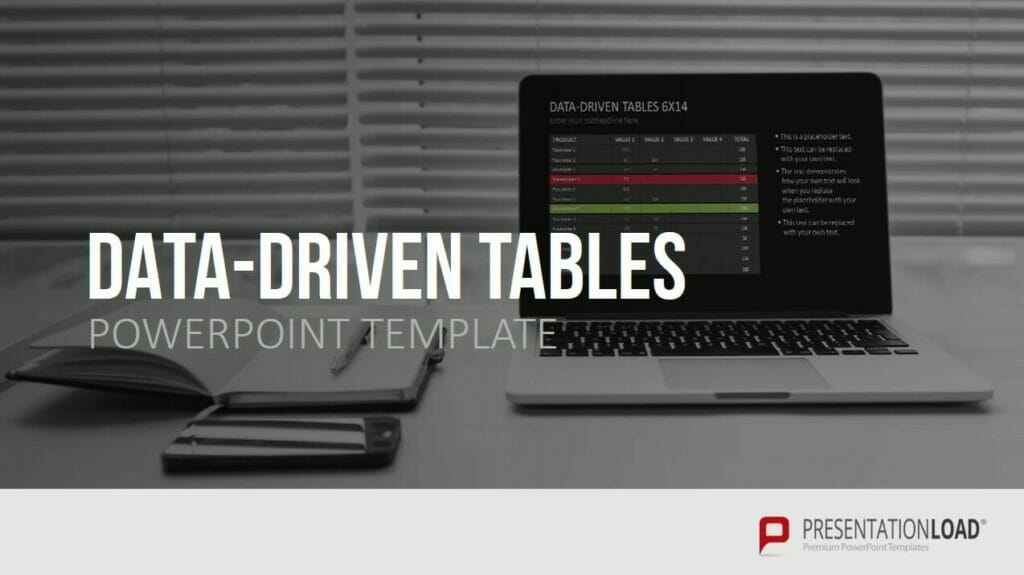
If creating a visually appealing table in PowerPoint on your own takes too much time and effort, you are welcome to take a look at our store where we offer various PowerPoint templates suitable for different themes:
PowerPoint notices this change in Excel and adjusts its display accordingly. This way, you can have data you just collected visualized live in no time. Due to technical difficulties, there are few data-driven table templates for PowerPoint that actually work.
Should you have questions about the correct handling of numbers and tables in PowerPoint or other PowerPoint problems, feel free to contact us via email at [email protected]. As a market-leading PowerPoint agency, we can support you with years of practical experience.
Further articles, that might also interest you:

